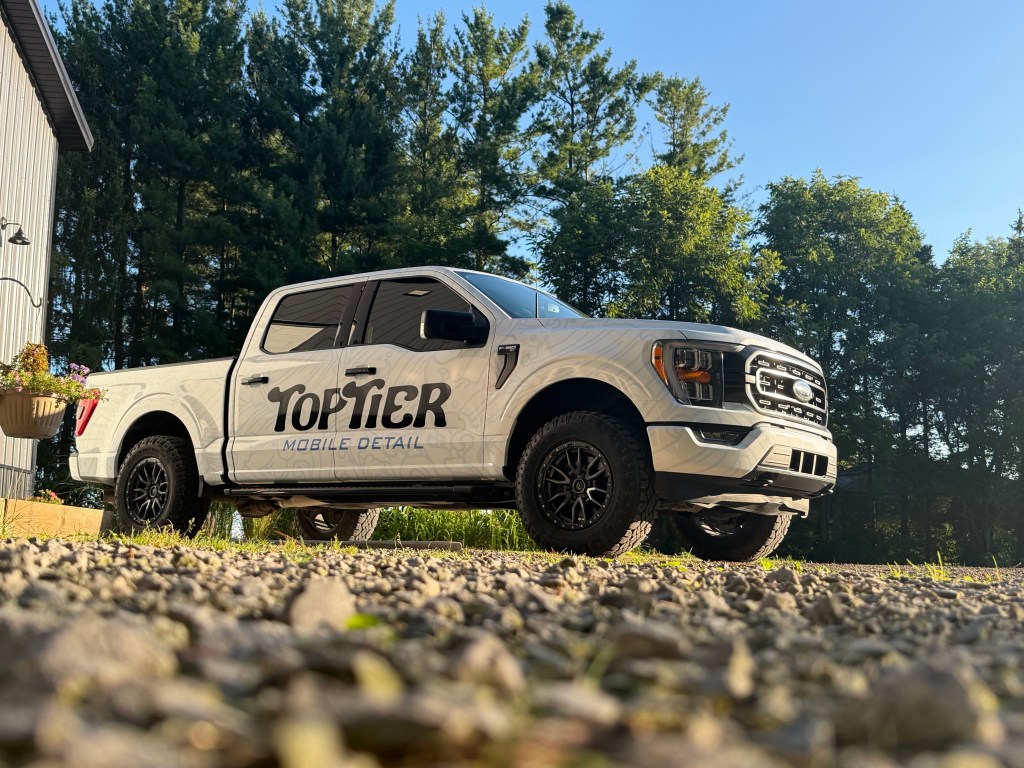
You drop off a vehicle. A few days later, you pick up one of the best long-term advertising methods your business can buy. In between, there’s a process most customers never see — and honestly, most shops don’t talk about it. We think you should know what you’re paying for. Here’s the real breakdown.
Step 1: The Initial Consult
Before anything gets designed or printed, we sit down and figure out what’s actually right for you — what you’re trying to accomplish, what fits your budget, what fits your fleet. From there, we pick a direction together.
Step 2: Seeing What We’re Wrapping
Next, we like to see the actual vehicle — in person if possible, so we can inspect key areas, spot anything unusual, and take real measurements. If in-person isn’t an option, a lot of vehicles have templates close enough to work from, or we’ll walk you through getting us the right photos so we can plan around your specific van, truck, or trailer.
Step 3: Design
This is where proofs go back and forth — usually just a handful of rounds. We make sure your logo is in the right format so it still looks sharp blown up to vehicle size, and we test colors against your brand guide. No brand guide yet? That takes a little longer, because we want to get it exactly right rather than guess.
Our best advice: elect one key decision-maker for this process. It’s fine to loop in your team for feedback, but don’t let the decision stall. Got It Made is there the whole way to help you make the call that gets you the best ROI from your wrap — that’s part of what you’re paying for.
Step 4: Production
Once the design is locked, we stick with the plan and panel the artwork out for our production team. We test print the colors first, with an optional color approval step before we commit to final production. Then the wrap is scaled to its proper size and printed on the correct material using our wide-format printer.
From there, it’s laminated for protection and durability, then separated into trimmed pieces for assembly on the table. Once the panels are assembled, the print is organized and staged the day before your drop-off.
Step 5: Drop-Off and Prep
You’ll get drop-off instructions 48 hours before your appointment, built to make the install go as fast as possible. When your vehicle arrives, we check it in and document its condition. From there it’s prepped — a final cleaning to get the surface ready, and any necessary removal of badges or trim. We don’t take off much to wrap a vehicle well.
Step 6: Install and Quality Control
Then the install happens. Once it’s complete, it’s heat-set for durability, and we run a final quality control walkaround right there in the shop. The installer signs off on the work, and QC signs off with Got It Made’s seal of approval — after final photos are taken.
Those photos aren’t just for show. They go into our archives so we can compare results across future projects and make sure the rest of your fleet matches when you add more vehicles.
Step 7: Pickup
Once everything’s approved, your vehicle is marked ready and you’ll get both an email and a text letting you know Got It Made has your new wrap ready to go.
The honest version: most of the actual production and install happens in about 3 days. What takes real time is the front end — the consult, seeing the vehicle, and getting the design locked. We smooth out the bottlenecks most shops run into through communication and a dialed process.
Questions about what your vehicle would need? Reach out — we’ll walk you through it before you commit to anything. In the meantime here’s a quick photo of a wrapped result and the before photo. This customer had some tough removal on the old wrap because of some installation techniques the last shop used for their wrap. Excessive removal that caused some damage, cuts on paint, and 3M primer on just about every surface causing some unnecessary prep time for the project. More on this in the coming posts!